
MindNode Tutorial: Custom Stickers (macOS + iOS Trick)
On This Page
This is the first part in a series of blogs I’m writing to empower other creative professionals with new tools & ideas for productivity. I often devise new ways to “beat” my ADHD by making project management fun. MindNode is an app from the App Store that has become essential for me in that regard.
A quick intro to MindNode
MindNode is one of my favorite tools for organizing my thoughts - it’s a versatile mind map builder and has become the first app I boot up when I’m having an idea.
Mind mapping is one of the most useful ways to get your inner process out on paper or a screen, and this mind mapping software is my go-to choice.
Wikipedia offers this definition for Mind Map:
“A mind map is a diagram used to visually organize information. A mind map is hierarchical and shows relationships among pieces of the whole. It is often created around a single concept, drawn as an image in the center of a blank page, to which associated representations of ideas such as images, words and parts of words are added. Major ideas are connected directly to the central concept, and other ideas branch out from those major ideas. ”
A Quick Handful Of Example Mind Maps
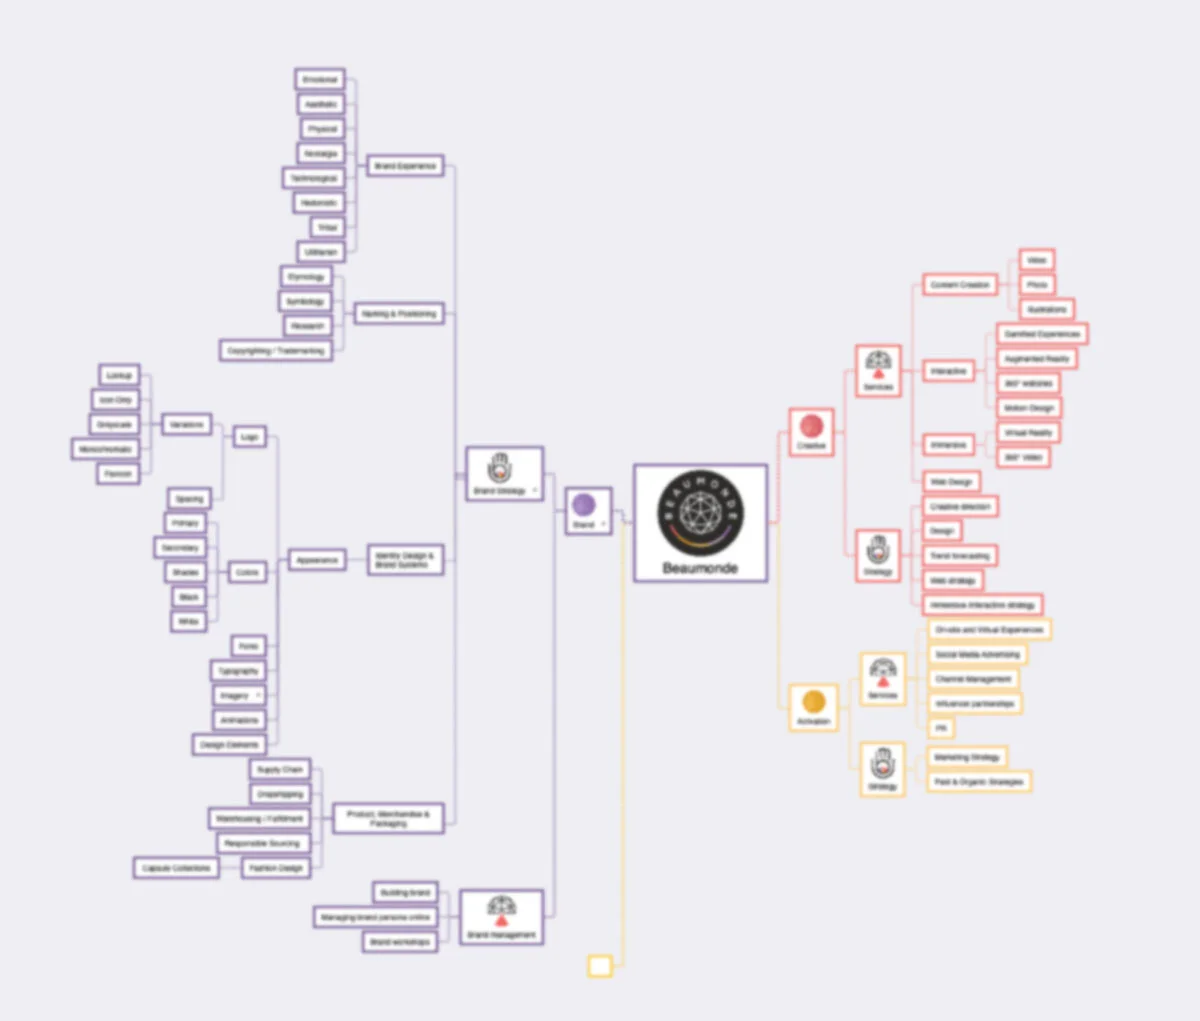
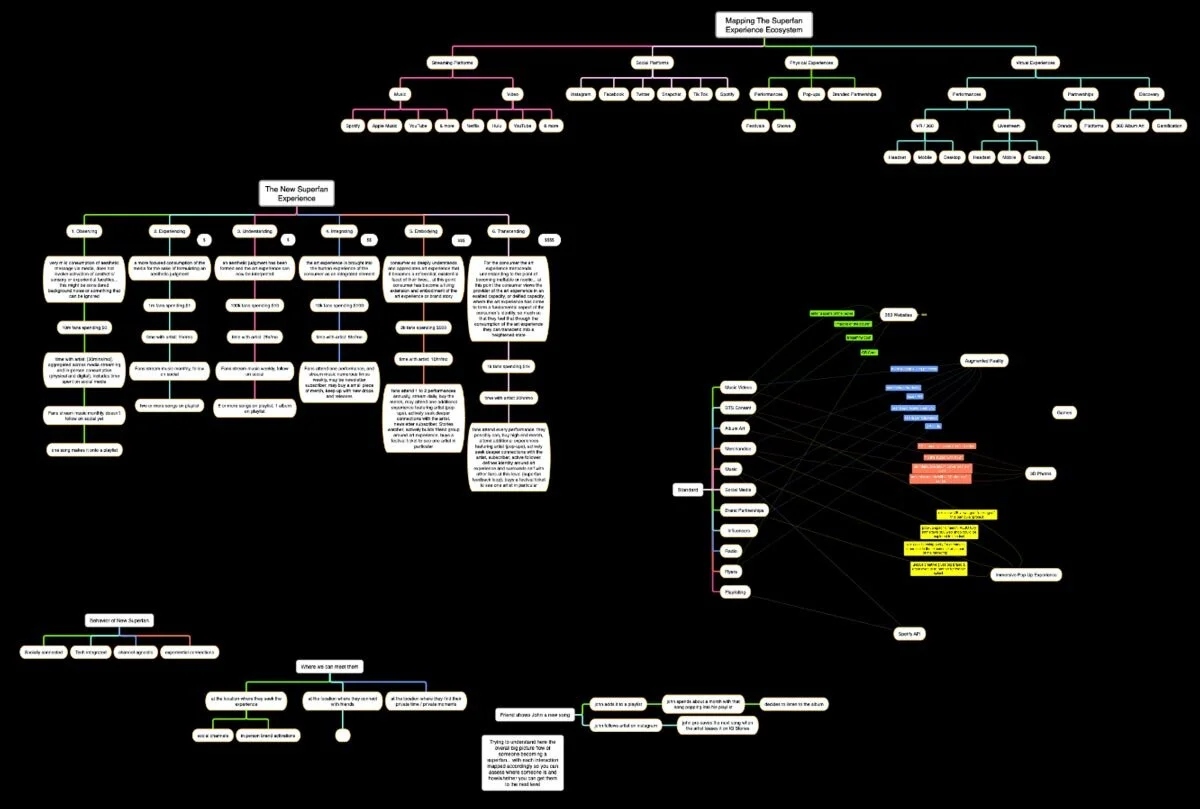
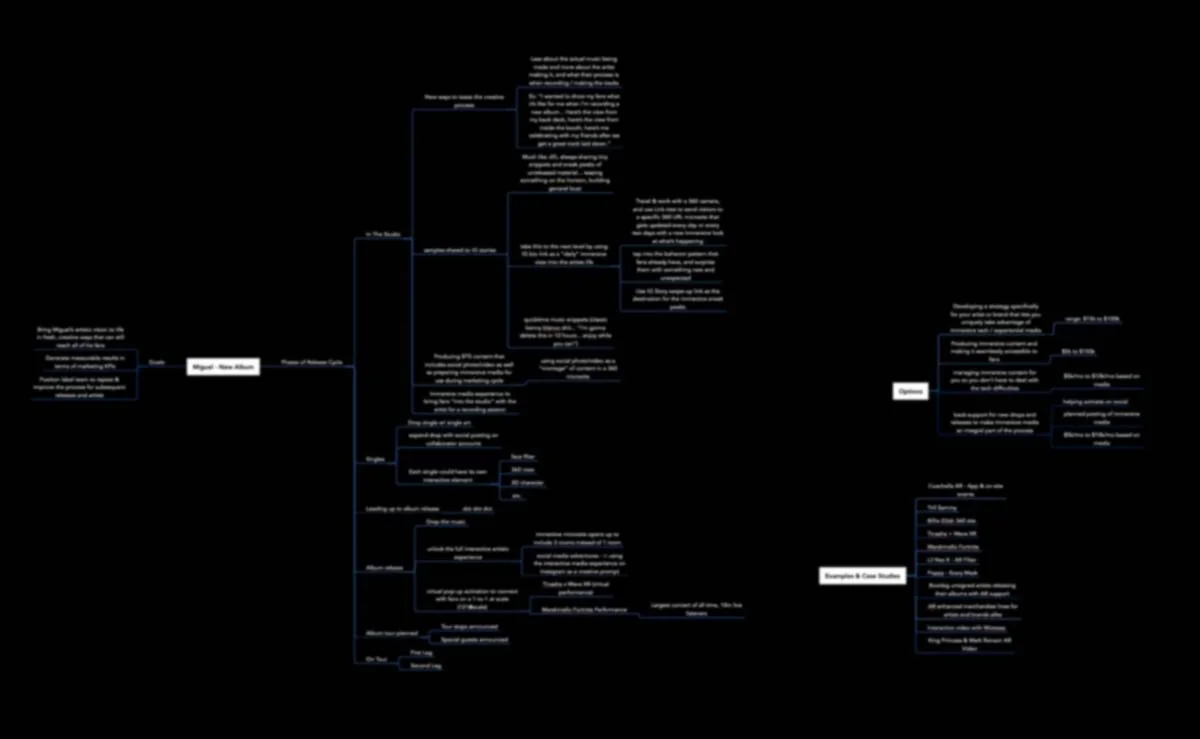
To give you some extra context here I’ve included a few mind maps that I created for myself or for clients.
The first is a business service brainstorm, the second is outlining a model for building a more interactive fan base, and the third is a skeleton media plan for a broad marketing project.
For the sake of protecting my ideas, they’re pretty low-resolution… but you get the idea!
It’s easy to see how customizing these mind maps with your own media can quickly empower the brainstorming process.
Why Mind Maps / MindNode?
When I moved to Austin from Raleigh in 2019, I had a lot on my mind.
I started using Mindnode to keep track of everything, from creative ideas to business strategies and marketing tools.
Learning how to get the most out of Mindnode has helped me a lot, so I've decided to share some of my knowledge with this app for others.
Custom Stickers: A Feature I NEEDED
When I first booted up Mindnode, I wanted to know how I could add custom stickers.
The built-in stickers are a great feature, but I prefer making my own 😇.
Without further ado, I give you:
How To Add Custom Stickers in MindNode 7 (macOS)
1. Quit Mindnode if the app is open. New stickers won’t always show up until you close/re-open the app.
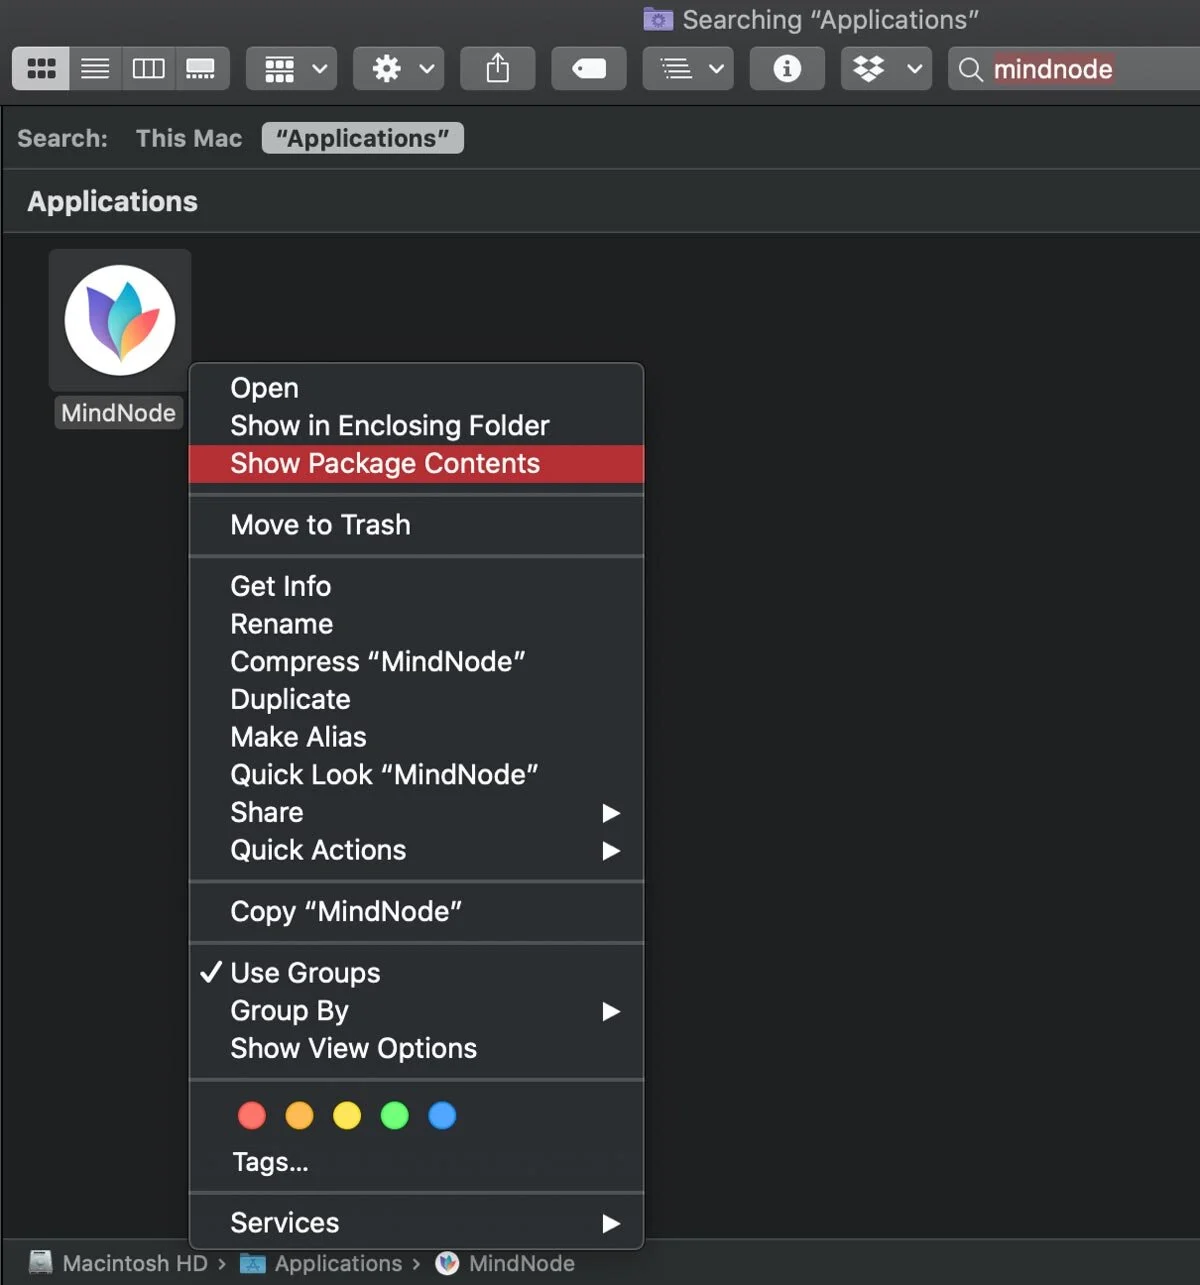
2. On Mac, open Applications and find MindNode
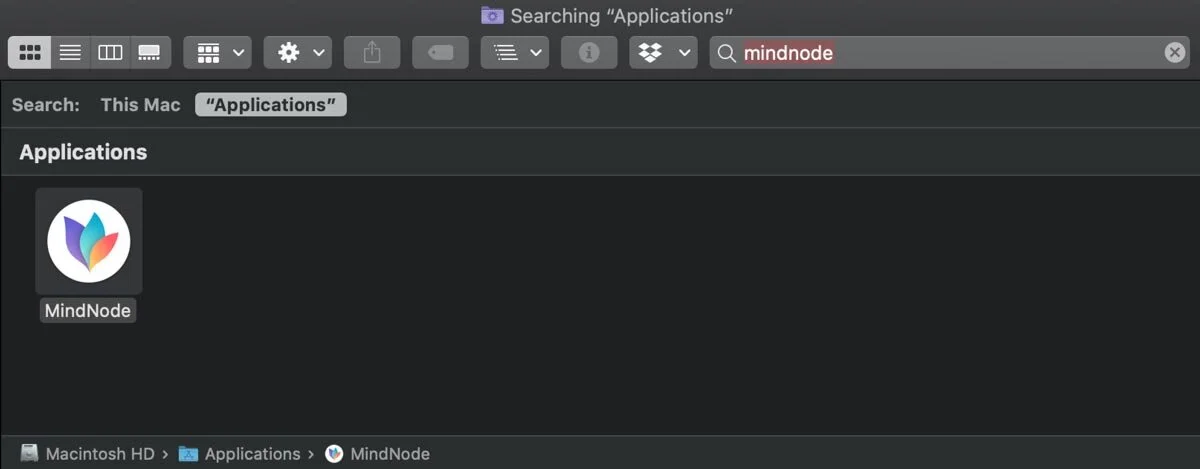
3. Right-click it and select "Show Package Contents"
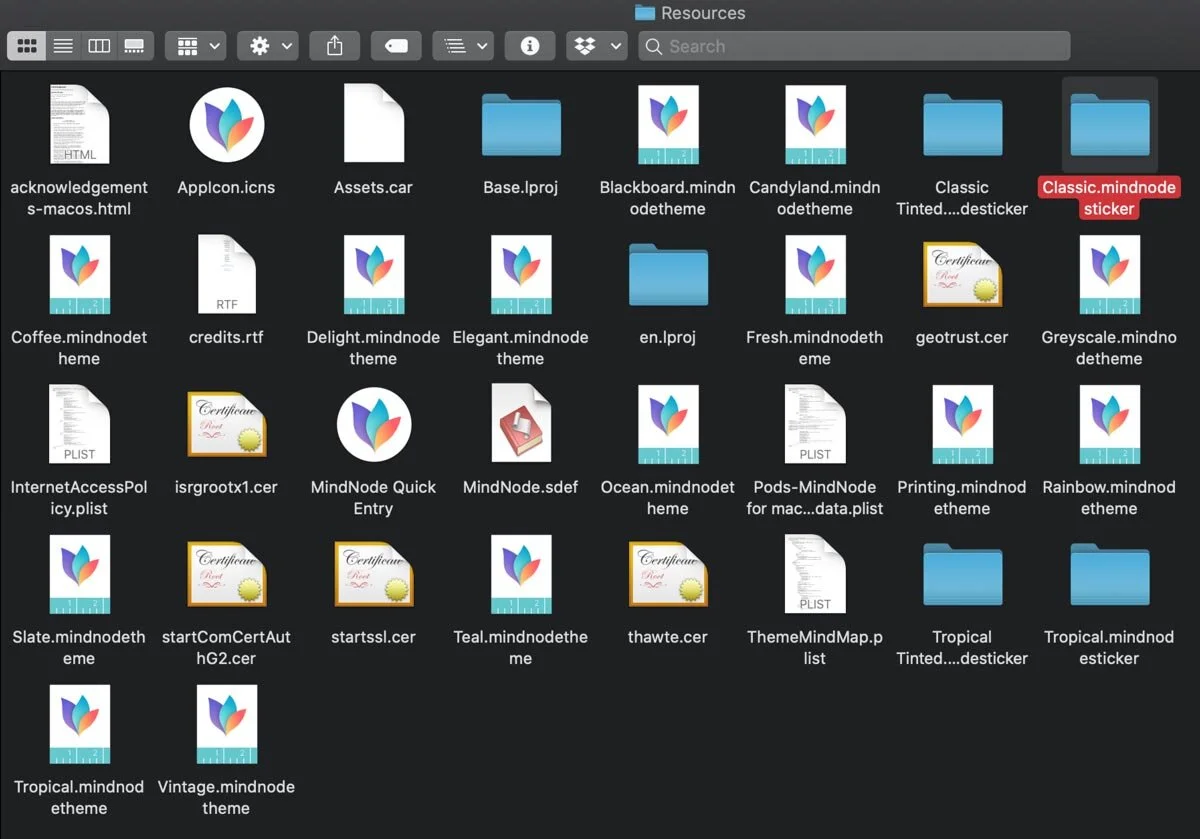
4. Click into Contents -> Resources -> Classic.mindnodesticker
This folder is where we find the .PDF files for the stickers inside the Mindnode app
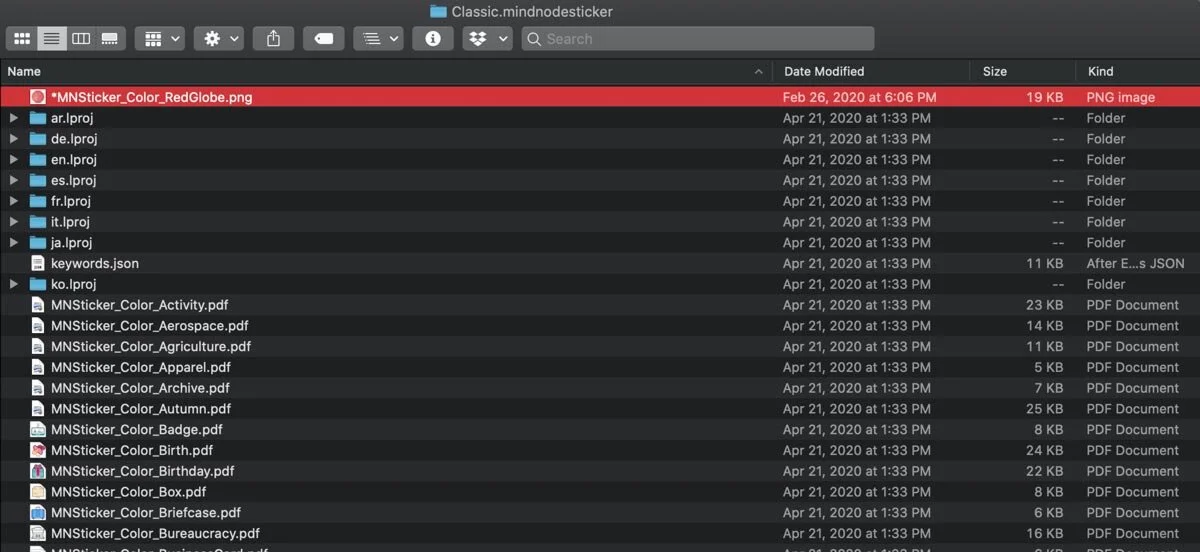
5. Paste your custom designed files into this folder. Finder will probably ask you to authenticate this with a password or Touch ID. Say yes. :)
You can use a .PNG, .PDF, or .JPG file. Mindnode forces all .JPG’s to be a 1:1 ratio. IDK why, but that's just how it be. Use a .PNG file and save yourself the headache.
6. (Optional Pro-Tip) After pasting, you can retitle your files with a * or ! in front of your file name to put it at the top of the available "Classic" sticker list.
Your files will still work even if they don't fit Mindnode's naming convention of “MNSticker_Color_[TITLE].pdf”

7. Now that your files have been added, open Mindnode and click the Stickers button.

8. Your stickers will now be there under the "Classic" sticker list.

9. Add your new stickers into your nodes and make your mind map look amazing.

Add Custom Mindnode Stickers on iPhone/iPad (iOS)
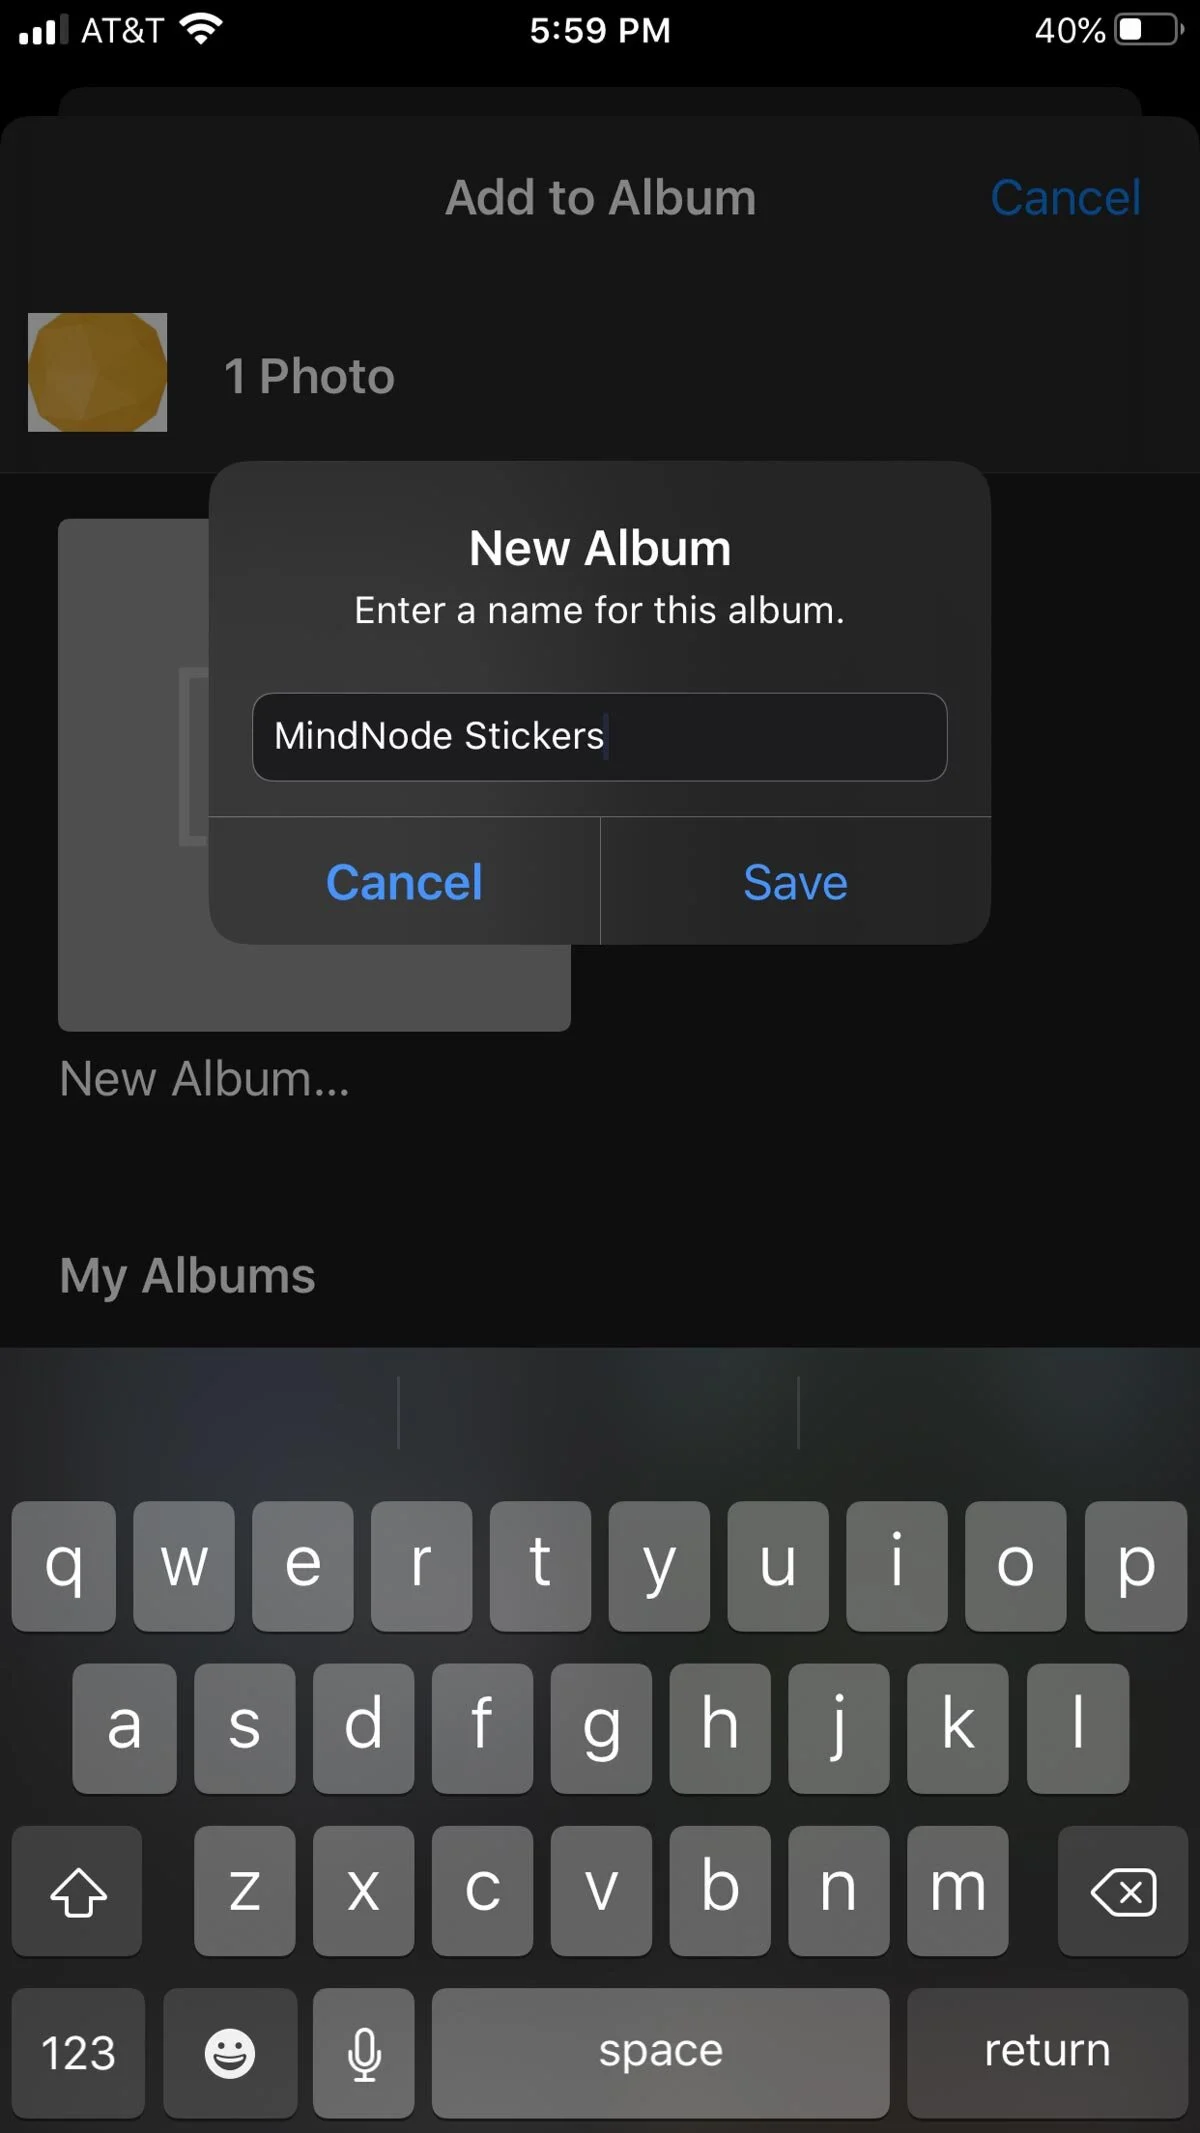
1. Add the image you want as a Mindnode sticker to your camera roll.
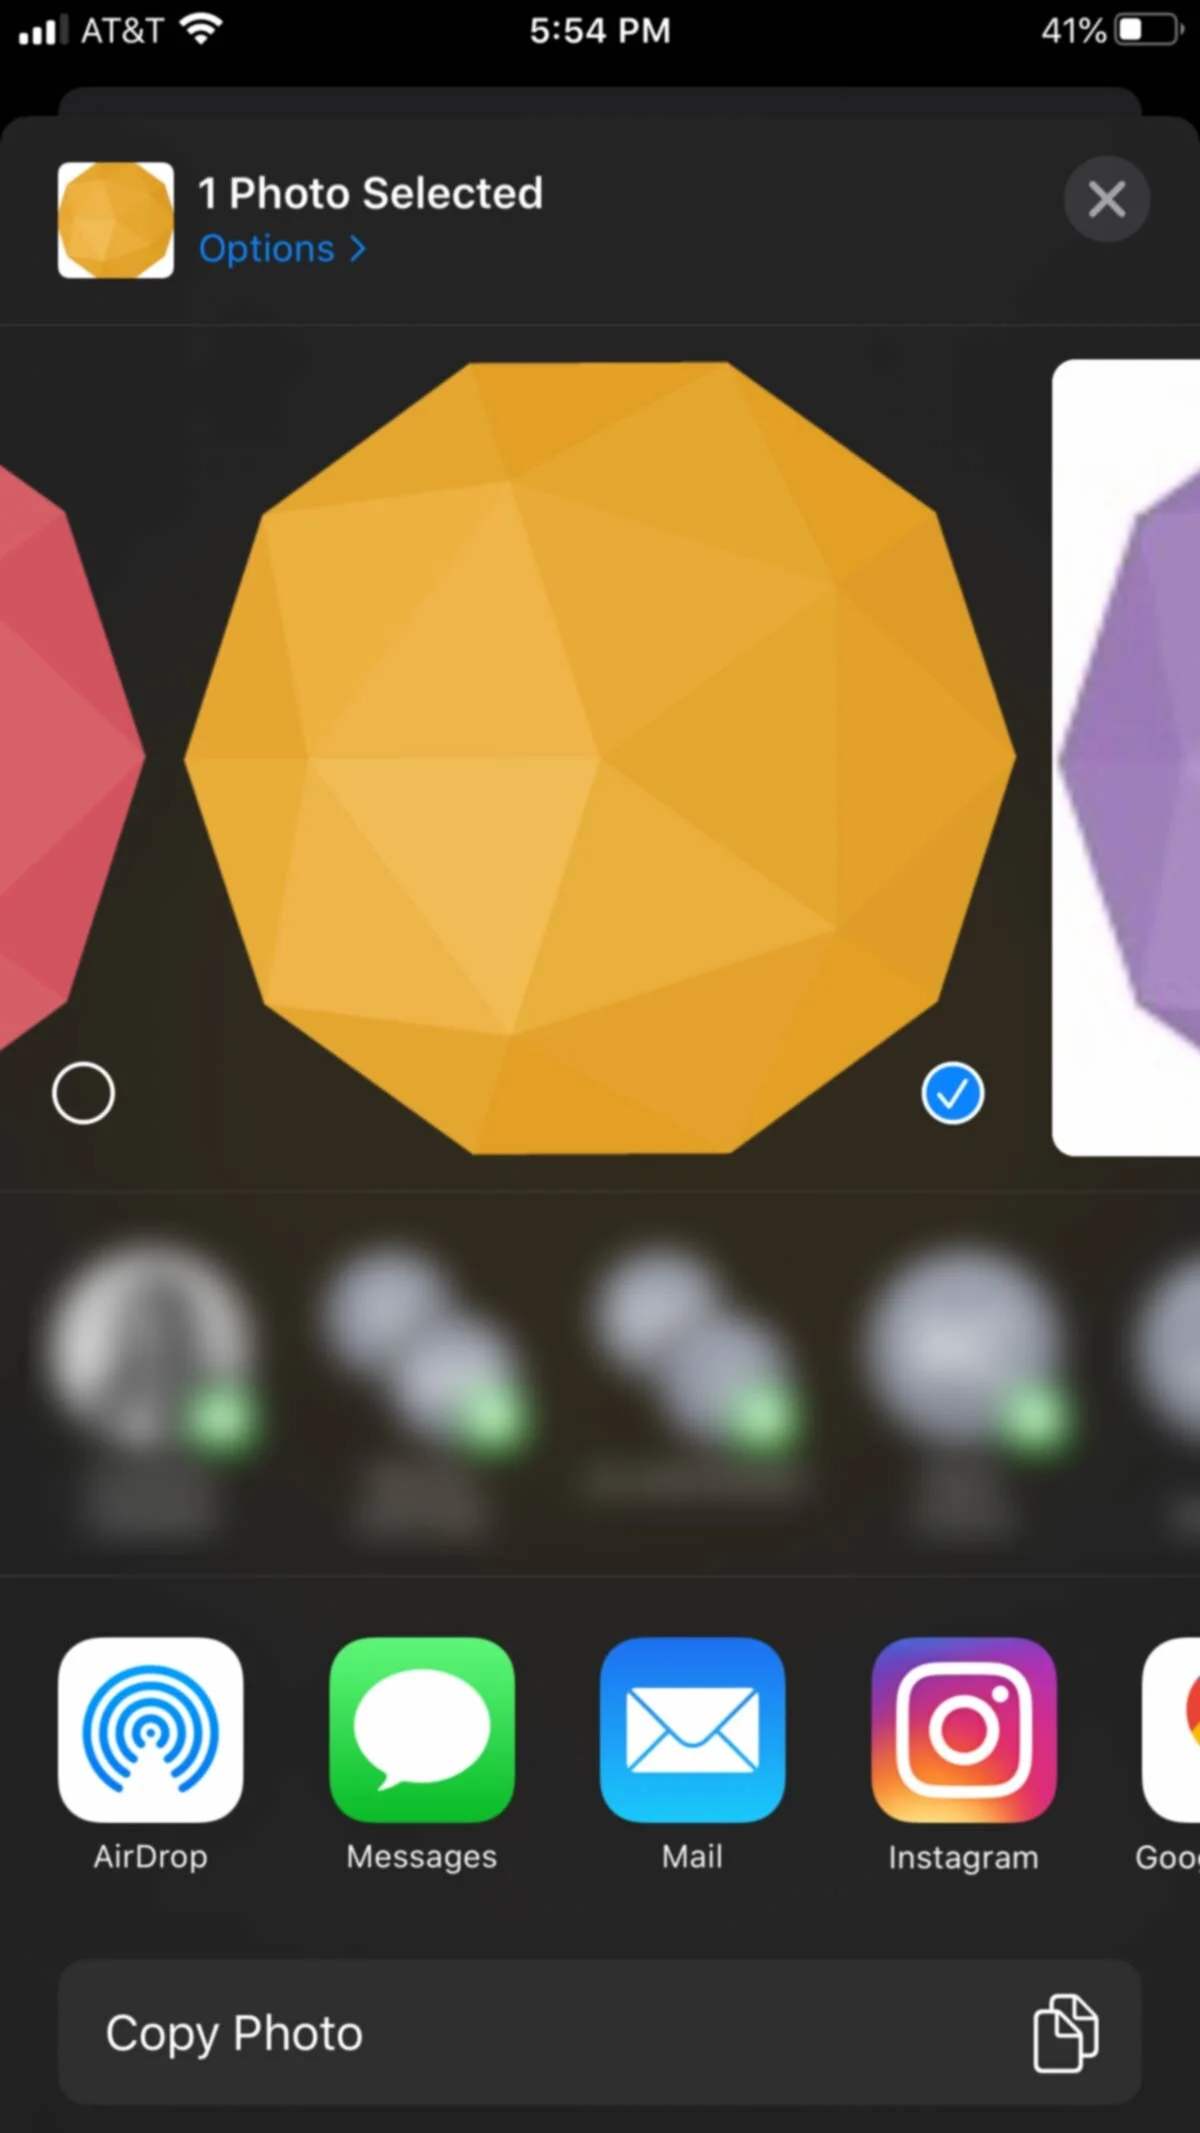
2. Add that image to an album on your Photos app called Mindnode Stickers.
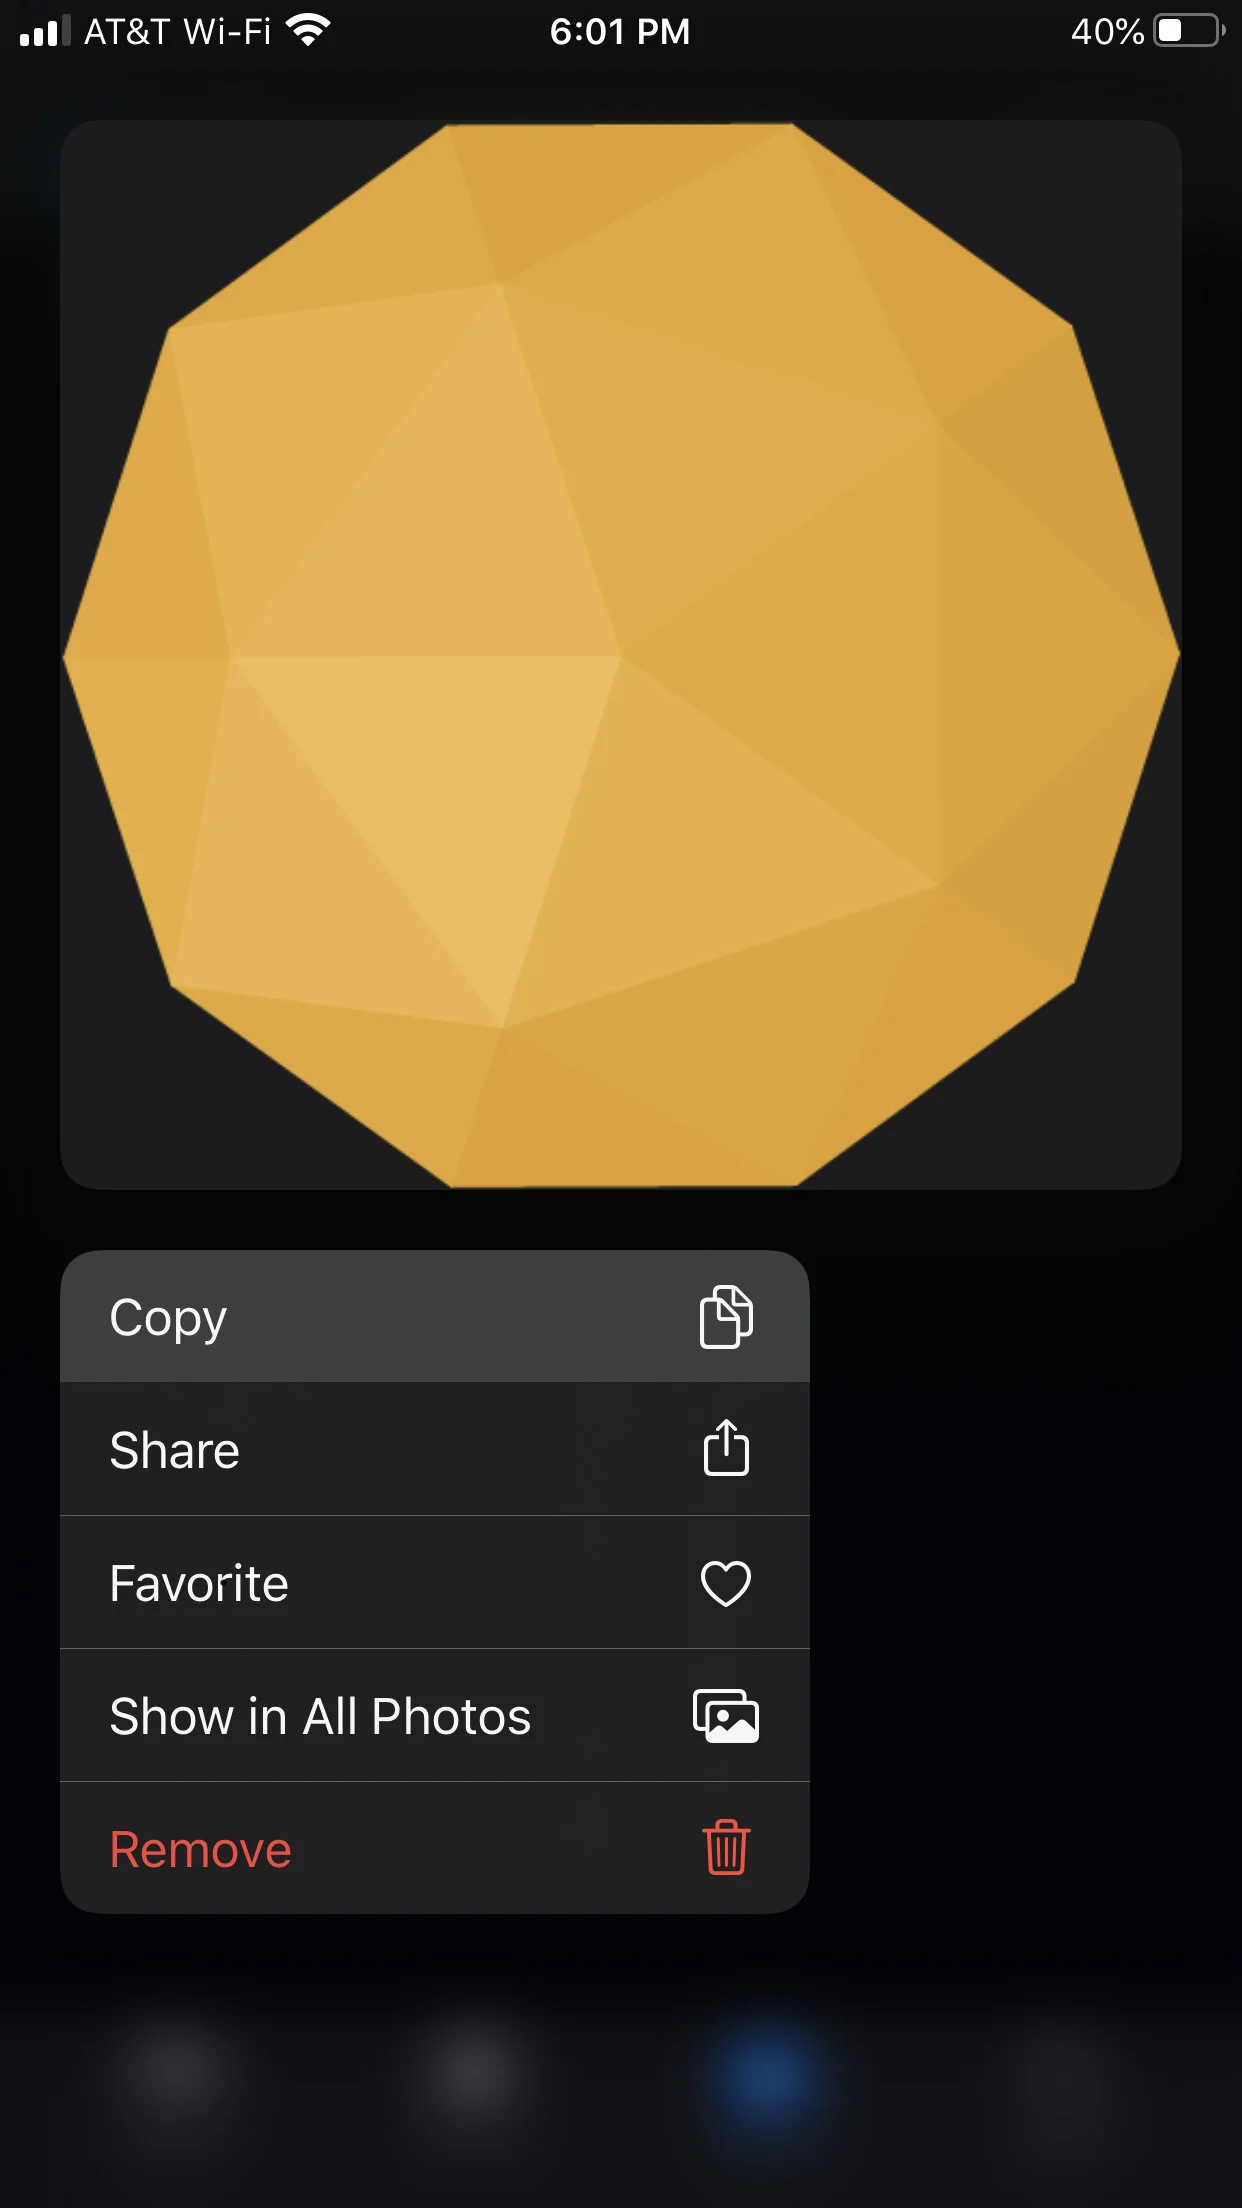
3. Long-press on the image and select Copy.
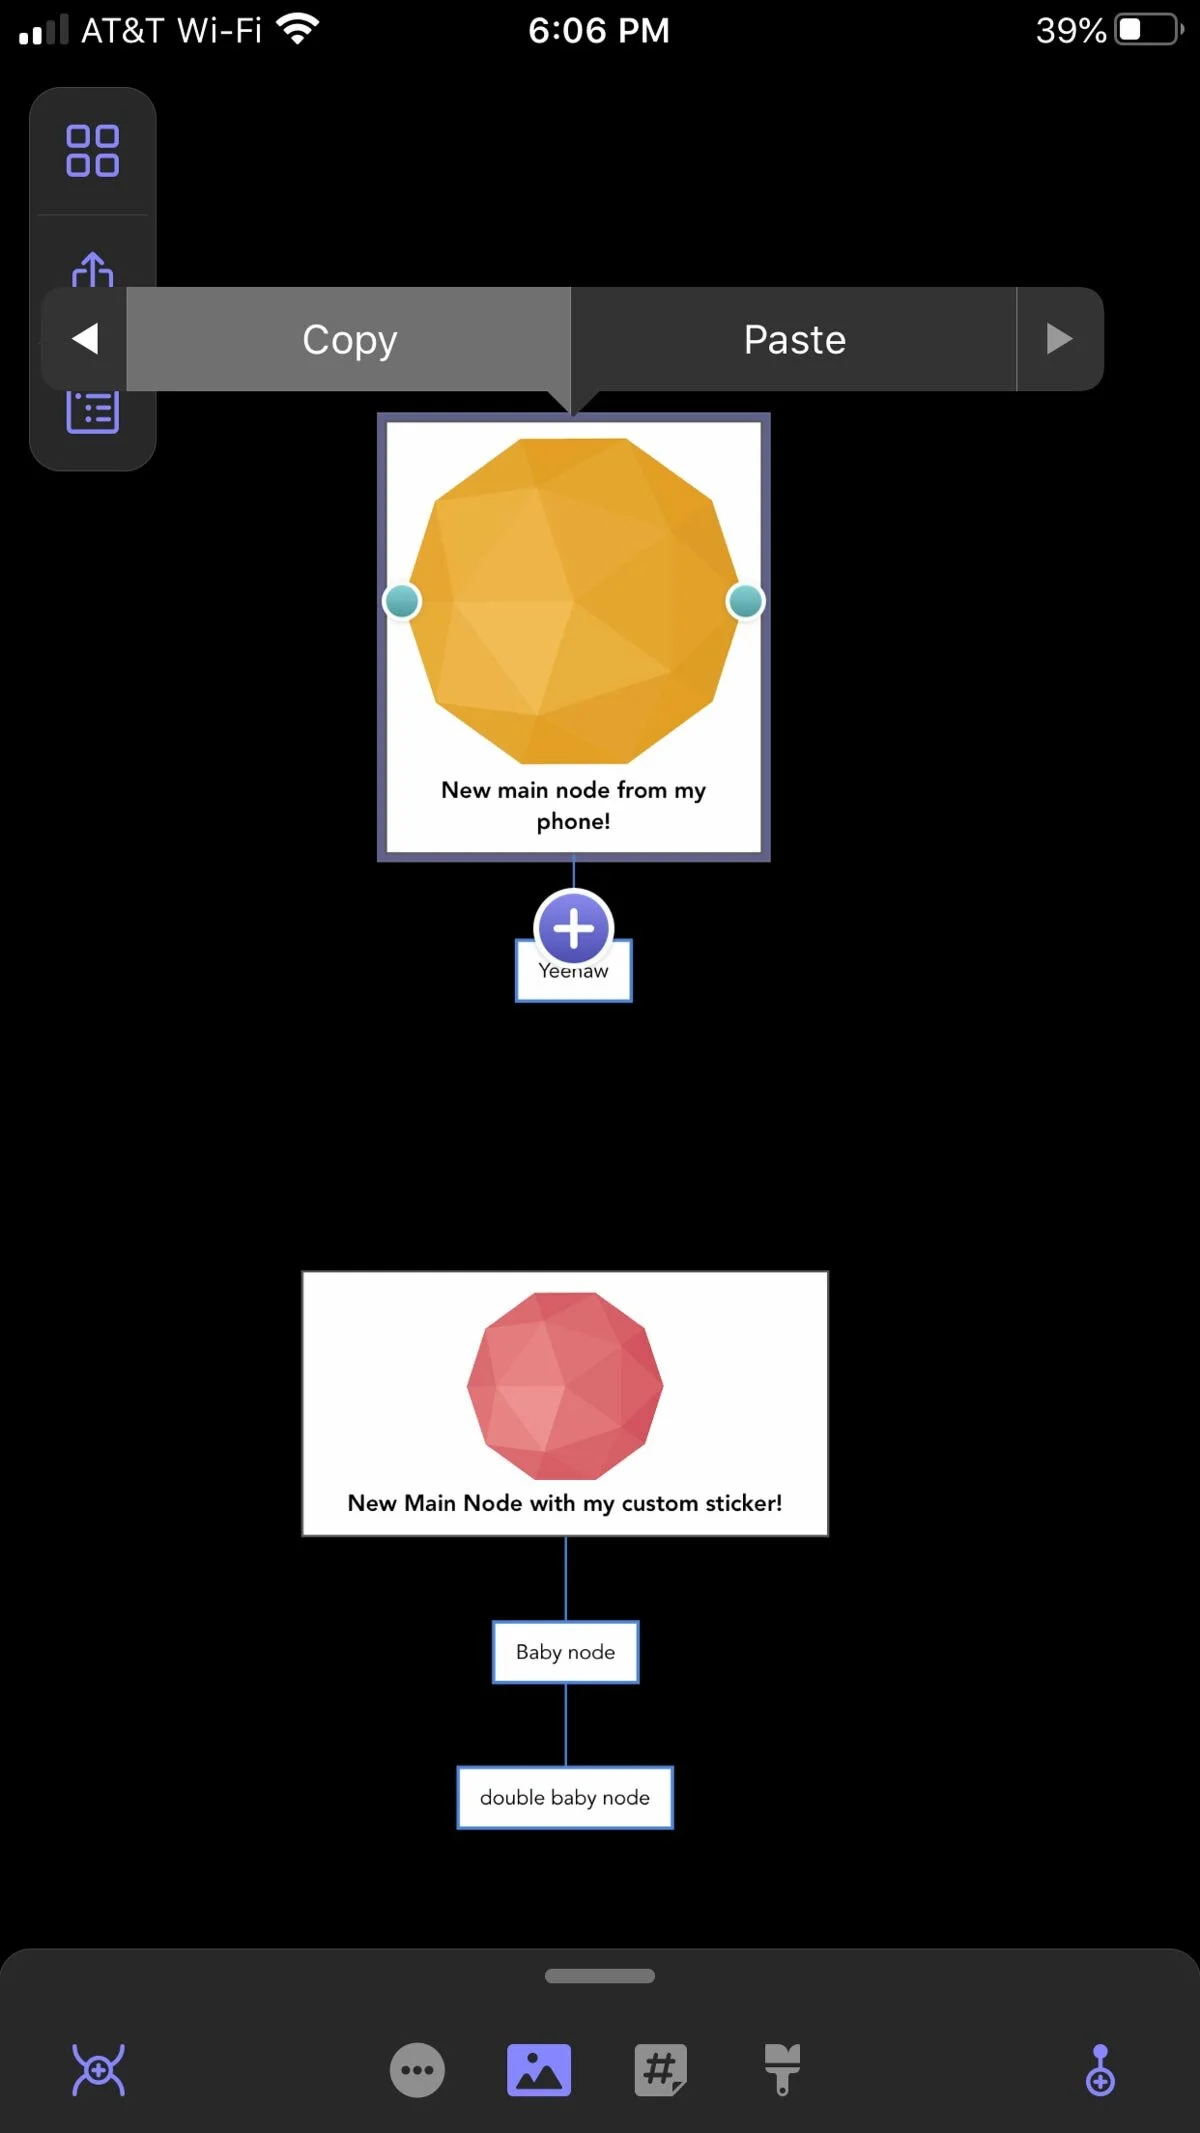
4. Open Mindnode and select the node where you want your sticker.

5. Tap into that node, do a long-press on the node, and select Paste.

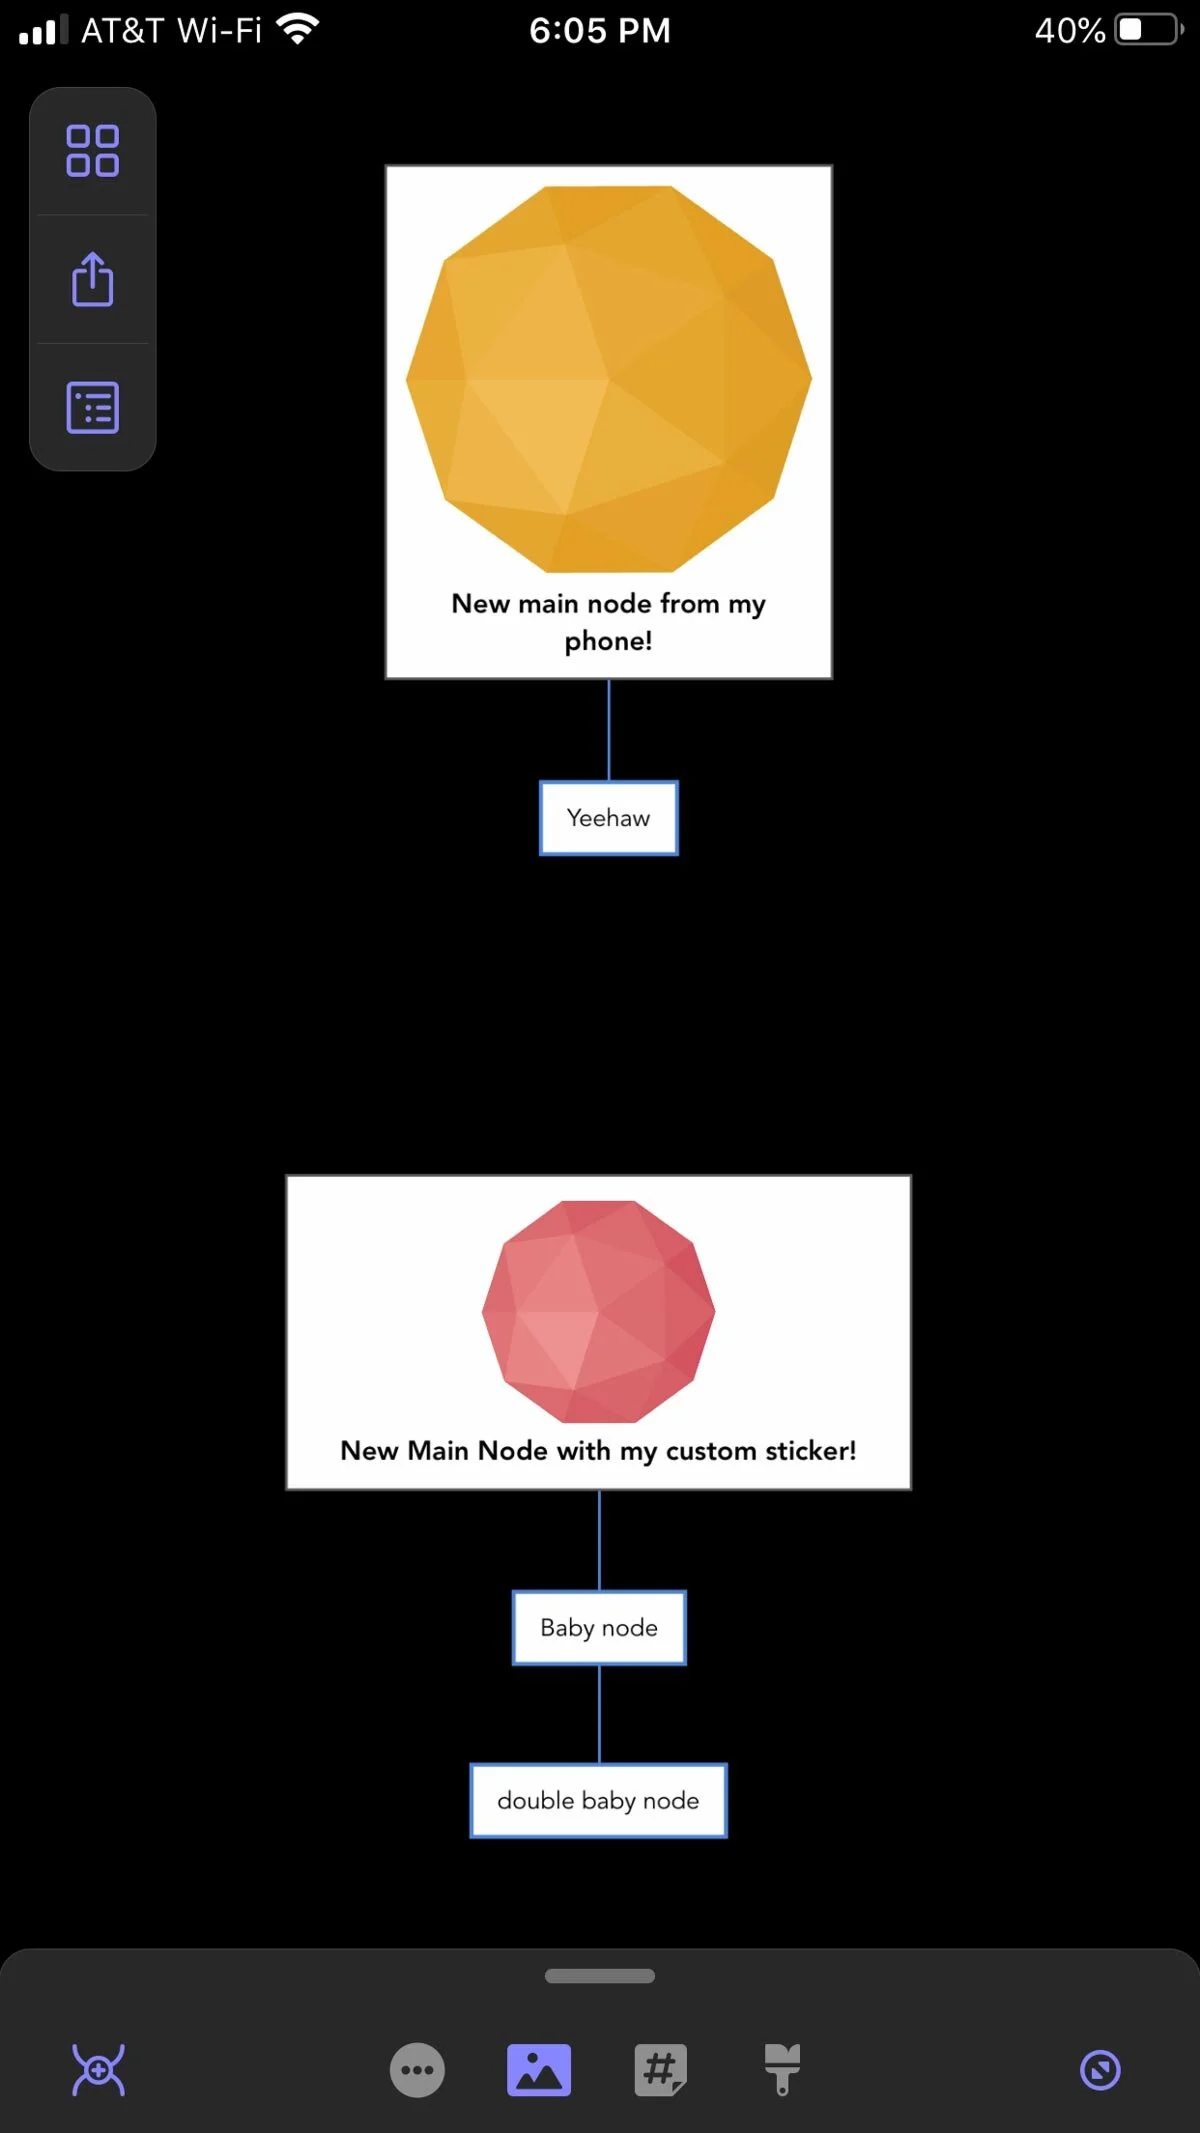
6. Your image will become the sticker/photo for that node and you can then resize it as desired by tapping on the image inside the node.
MindNode iOS Pro-tip: You can copy /paste graphics between nodes very easily! It’s a simply way to reuse graphics in your mind map without needing to bounce between Photos/MindNode.
Keeping all of your custom stickers in one album will help you find and reuse stickers when you’re brain-blasting on your phone or tablet!
Plus, the Photos app will store them in the cloud so you can access them on all of your devices!
A few last Mindnode-y details:
Your macOS stickers will show up on your iOS mind maps if you’ve initially added them on the macOS app, but you won’t be able to add new ones using the stickers button on mobile/tablet without copy-pasting.
Your new stickers won't change colors like the Mindnode native stickers, but it's never been a problem for me since I usually design new Mindnode stickers based on the color scheme of my custom layouts.
Some of you may wonder why the macOS solution has us pasting files into an existing folder instead of making a new & separate folder for our stickers. I've tried this in the past on numerous occasions, (ex: Shep.mindnodesticker) and I haven’t been able to make it method work yet. Rather than try to create a new folder for Mindnode to reference, we can trick Mindnode into thinking that the stickers we're adding are a part of an existing sticker pack.
You don't have to add your stickers to the Classic pack. You could put them anywhere - I just chose Classic for this tutorial since it's the folder I use.
As far as finding files to use for custom stickers, I suggest using a tool like Adobe Illustrator or Photoshop to export transparent PNG files for your stickers. Then you can drag and drop those files into your sticker folder or Photos album, or copy & paste them in.
And there you have it! Custom Mindnode Stickers.
If you thought this was helpful, consider subscribing to my newsletter for more cool ideas. Thanks!